Another disaster came with the Windows 8.1 upgrade over weekend was discovered Monday morning when I was in desperate need for my local WordPress blog where I kept tons of valuable info for the project I have been working on. I clicked on the blog link and got an “Error establishing a database connection” message. Using that error message to search Google and returned many complaints about the same problem and basically it was that the upgrade has somehow disabled the underneath MySQL database. Below were the steps I took to fix the problem and got my WP blog back online:
- Launched MySql installer and first selected Add/Modify Products and Features:
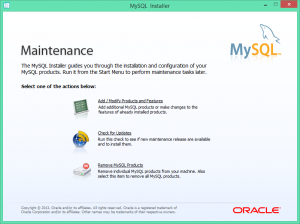
Started MySql Installer to remove and reinstall MySql database engine
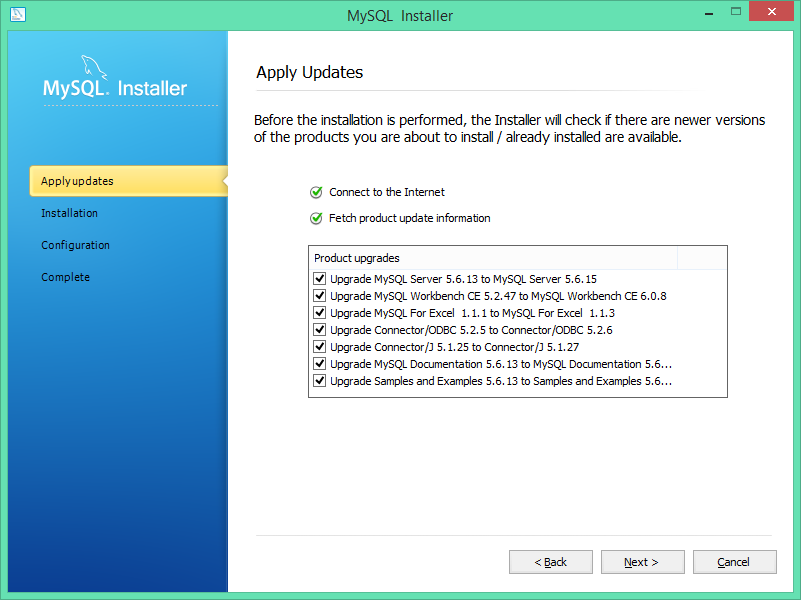
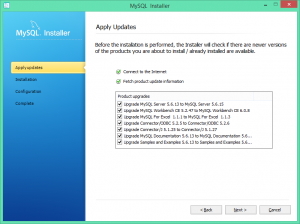
- First applied all the updates:
- After product updates were completed, trying to connect to 127.0.0.1: 3306 and still got the database not connected error; so decided that un-installing and re-installing MySql Database engine was the only option.
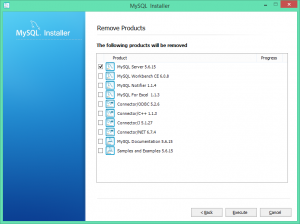
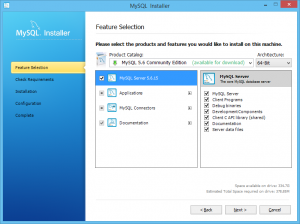
- When asked if to clean the existing data, did not check the “Remove server datafiles” option or I would lost all my old blogs!

- After uninstalled, relaunched the MySql Installer and re-installed the MySql 5.6 Community Edition (default):
- After installation, just followed the configuration process through and added the same user account back (find user account info in wp-config.php); started the MySql Workbench and made sure it could connect to local host instance.
- Then that’s it! I browsed to the same work blog site and everywhere was sunshine again!